How to install Synology DiskStation Manager in VirtualBox
I wondered about forensic analysis of Synology NAS, especially how to create a memory dump, but unfortunately, I was not able to find any useful howtos. I had to try it myself, but as a 1st step I needed a running instance of Synology DSM (DiskStation Manager, the web-based OS running on Synology NAS). Because I do not have any real HW Synology NAS, I decided to try it as a Virtual Machine. Preferably as guest in Virtual Box, or VMware or QEMU. Some howtos and instructions are available on the Internet, but some tinkering or adjustments are needed, so I summarize my approach in this blog post.
Xpenology bootloader
Synology can run on variety of platforms and CPU architectures, like x86-64, AArch64 (64-bit execution state of ARM),… We need the bootloader and the operating system itself. First searches on Internet bring us to Xpenology bootloader compiled from the source codes provided by Synology under GNU license, and its variants (mods) used with VirtualBox or VMware.
Installation in VirtualBox
There are several tutorials how to install it in VirtualBox. This tutorial will be similar, but with few adjustments.
First of all, we need the bootloader, but which one? There are [plenty]() of them, but I have no luck with the newer ones (v1.03 and v1.04), the latest which works for me in VirtualBox Setup was v1.02b for DSM 6.1, with filename DS3615xs 6.1 Jun’s Mod V1.02b.img. Because I chose the .img, I need to convert it to format supported by VirtualBox, like .vmdk, with following command:
VBoxManage convertfromraw "DS3615xs 6.1 Jun's Mod V1.02b.img" synoboot.vmdk -format VMDK
Now we can proceed with the creating the Virtual Machine in the VirtualBox like in this Xpenology tutorial. Don’t forget to change the MAC address to 0011322CA785, otherwise the Web UI will not be accessible. We can choose various network adapters, most simple is bridged, but it exposes all the VM to your local network. I usually prefer virtualbox-host-only adapter (VM doesn’t have access to the Internet, but VM is accessible from the Host), or NAT (VM has access to the Internet, can be accessed from Host using port forwarding). Because I would like to test the Synology Package Center or access the Internet from this virtual NAS, I chose NAT with following port forwarding:
127.0.0.1:5000 -> :5000 //Web UI
127.0.0.1:2222 -> :22   //SSH and SFTP
In storage, add SCSI controller (otherwise this bootloader may not start properly) and create new Hard Disk (for my testing purposes I choose only 8GB, after successful setup the volume with this HDD has about 3.3 GB)
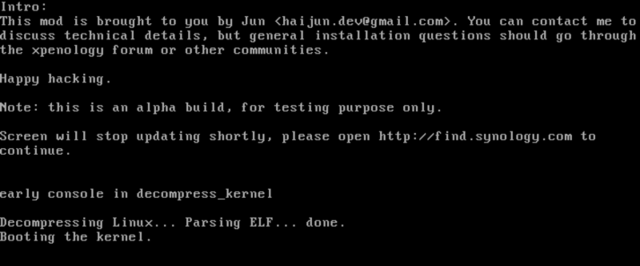
Now we can start the VM, in the Grub menu I have success with bare metal and VMware option, too. After that, we will see the following output in the VM screen, and after 2-5 minutes the Web UI should be accessible (if you use the NAT, it should be available at http://127.0.0.1:5000)
Install DSM
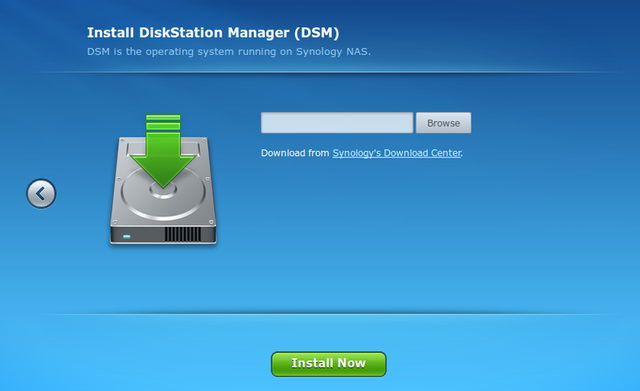
First, in Web UI we need to install DSM. We need get one suitable for our machine (DS3615xs) From Synology’s Download Center, but not the newest one (in the time of writing this post it is 6.2.2), but the latest release of 6.1 (in my case 6.1.7). Download the .pat file with approx 250 MB size, upload it to Web UI and install.
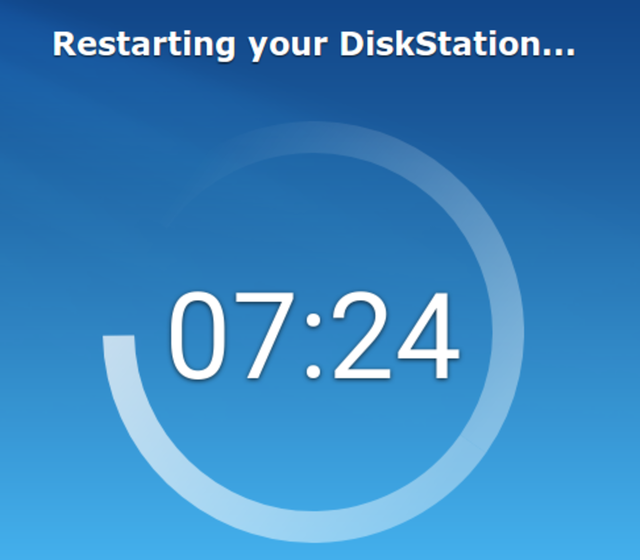
After installation finished, wait 2-5 minutes for restarting your DiskStation VM and access the Web UI in your browser again.
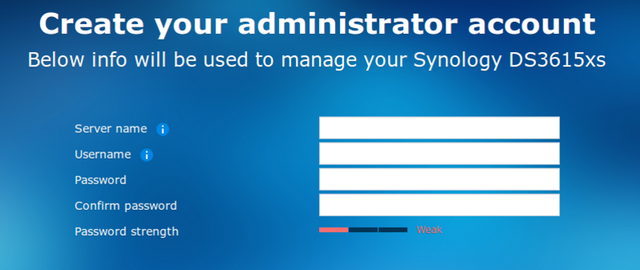
After reboot, we are ready to create admin account.
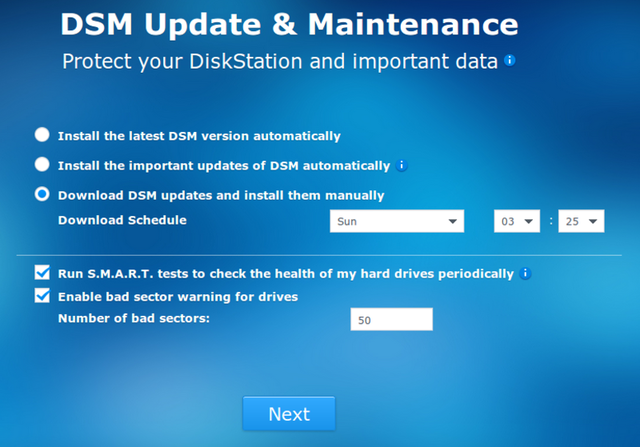
Next step is choose the update method. Don’t tick any of automatic updates options, because you will break your installation after automatic update (incompatibility issues with newer versions of DSM 6.2+ with Xpenology bootloader v1.02b for DSM 6.1). Remember, this VM is only for testing purposes and this is not secure.
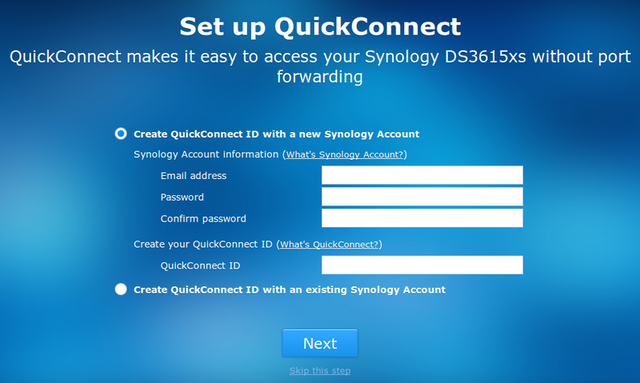
The next two steps we can skip because this is only for testing purpose, but you don’t need to follow my intentions.
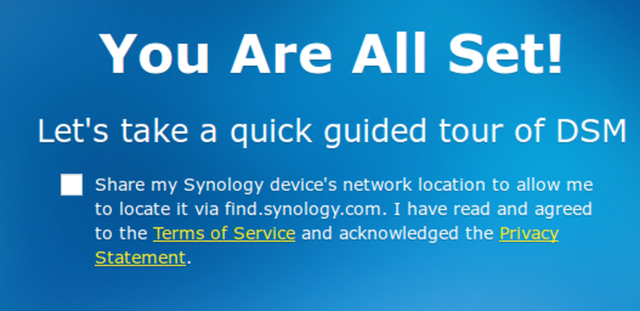
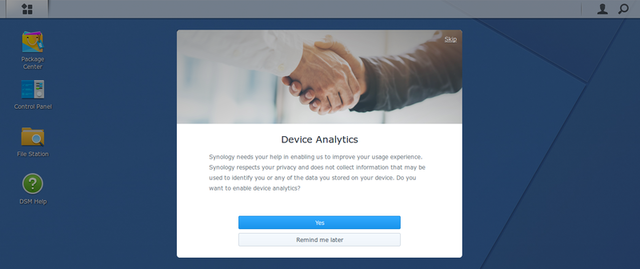
Yeah, we are almost at the end. Last one, share or don’t share device analytics? I chose remind me later or skip (right top), because this is test VM for forensics demonstration, thus my usage will be quite different than usage of regular users.
File Share
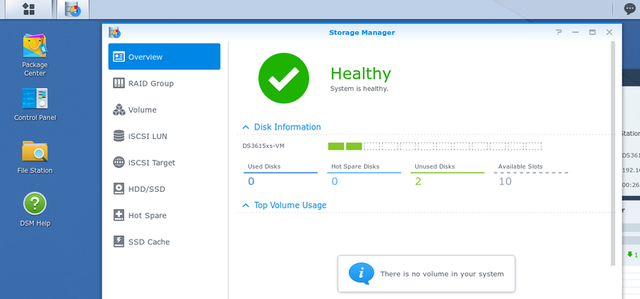
We have DSM installed and working, it is time to create the file share on our virtual NAS. First of all, we need to configure RAID Group, then Volume and after that, we can create the Share.
Go to the Main Menu and open Storage Manager:
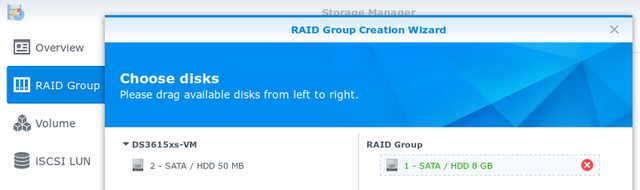
Create RAID: RAID Group -> Create -> RAID Group for single volume -> choose type (for one drive choose Basic type), then drag and drop attached virtual drive to this RAID group. Finish creation of this RAID Group: Next -> OK -> … -> Apply
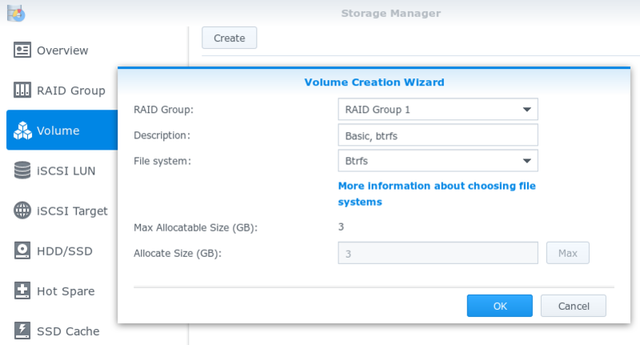
After that, create new Volume:
Now, we are ready to create Share. Exit Storage manager, open File Station icon on the Desktop and add a shared folder:
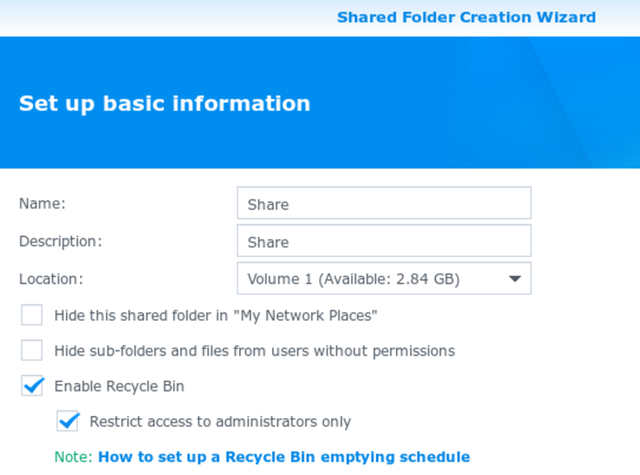
We will finish Shared Folder creation Wizard (Next, next, adjust settings,…, next,…) and we are ready to go.
Post-installation
Of course, if you want to use this virtual NAS not only for testing purposes, or you wish to expose this VM outside of the Lab network, keep in mind at least some hardening and enhance the security of your NAS.